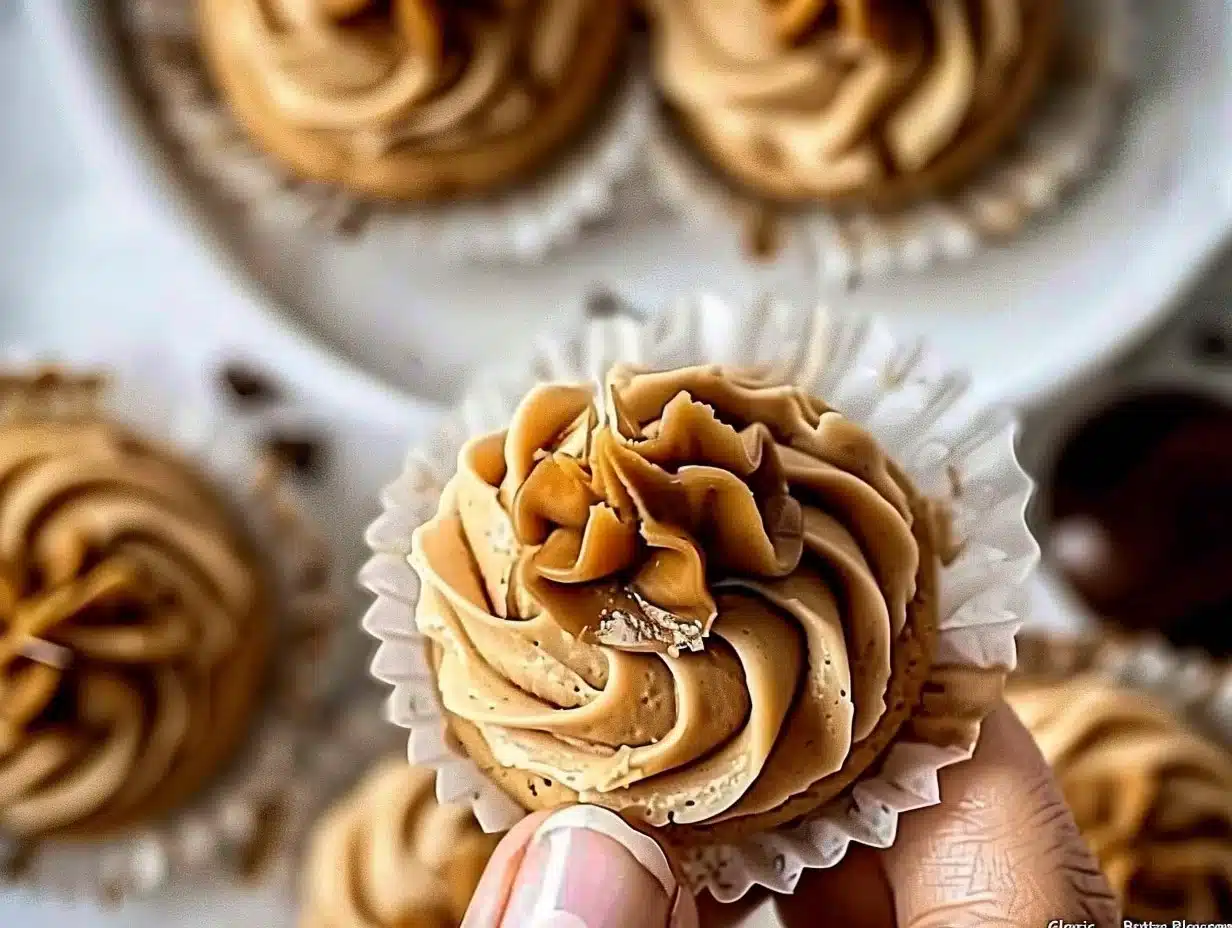
Classic Peanut Butter Blossoms Recipe
Baking can be a fun and rewarding activity. One of the most cherished recipes in many households is peanut butter blossoms. These cookies are not only delicious but also easy to make. They have a soft peanut butter base and are topped with a chocolate kiss, making them perfect for any occasion. Whether you are baking for a holiday, a special event, or just because, classic peanut butter blossoms will surely bring smiles to everyone’s faces. Let’s dive into why you should make these treats, how to prepare them, and some tips to perfect your baking.
Why Make This Recipe
There are many reasons to bake classic peanut butter blossoms. First, they are simple to make. Even if you are a beginner in the kitchen, you will find this recipe easy to follow. The ingredients are common and can be found in most grocery stores.
Second, these cookies are incredibly tasty. The combination of creamy peanut butter and chocolate is hard to resist. Each cookie offers a thick, chewy texture that melts in your mouth, and when paired with the chocolate kiss, every bite is bursting with flavor.
Another great reason to make these cookies is that they are perfect for sharing. Whether you are hosting a gathering or looking for a sweet gift, everyone loves cookies. Bringing a batch of these peanut butter blossoms to your friends or family will surely bring joy.
Finally, baking can be a therapeutic activity. It allows you to focus your mind on something creative and can be a wonderful way to unwind. The aroma of fresh-baked cookies filling your home can brighten your day. So, let’s get started on how to make classic peanut butter blossoms.
How to Make Classic Peanut Butter Blossoms
Making classic peanut butter blossoms is a straightforward process. Follow these detailed steps, and you will have a delicious batch of cookies ready to enjoy!
Ingredients
- 1 3/4 cup All-Purpose Flour
- 1 tsp Baking Soda
- 1/2 tsp Salt
- 1/2 cup Creamy Peanut Butter
- 1/2 cup Unsalted Butter (room temperature)
- 1/2 cup Granulated Sugar
- 1/2 cup Light Brown Sugar (lightly packed)
- 1 Large Egg
- 2 tbsp Milk
- 1 tsp Vanilla Extract
- 1/2 cup Granulated Sugar (additional amount for coating cookies)
- 11 oz Bag of Hershey Kisses
Directions
Prepare the Dry Ingredients: In a medium bowl, take 1 3/4 cups of all-purpose flour, add 1 teaspoon of baking soda, and 1/2 teaspoon of salt. Whisk them together until evenly combined. Set the bowl aside for now.
Cream the Butters and Sugars: In a large bowl, add 1/2 cup of creamy peanut butter, 1/2 cup of unsalted butter that is at room temperature, 1/2 cup of granulated sugar, and 1/2 cup of lightly packed light brown sugar. Use a mixer to combine these ingredients until they are well blended and smooth.
Add Wet Ingredients: Crack 1 large egg into the mixture, then pour in 2 tablespoons of milk and 1 teaspoon of vanilla extract. Mix everything together until it is well combined and smooth.
Combine Wet and Dry Mixtures: Gradually take the dry mixture you prepared earlier and add it to the wet ingredients. Stir until the dough is fully blended.
Chill the Dough: To help the cookies keep their shape while baking, cover the bowl with plastic wrap and chill the dough in the fridge for at least 1 hour.
Preheat and Prepare Baking Sheets: While the dough is chilling, preheat your oven to 375°F (190°C). Line your baking sheets with parchment paper to prevent the cookies from sticking.
Form the Cookies: After chilling, take the dough out of the fridge. Roll it into 1-inch balls. Once rolled, coat each ball in granulated sugar to give them a nice sweet outside. Place the dough balls on the baking sheets about 1 1/2 to 2 inches apart to allow room for spreading.
Bake the Cookies: Place the baking sheets in the preheated oven and bake the cookies for 7-8 minutes. Once they’ve baked, take them out and gently press a Hershey kiss into the center of each cookie.
Finish Baking: Return the cookies to the oven for an additional 2 minutes. This will help the kiss soften and secure it in place.
Cool the Cookies: After baking, let the cookies rest on the baking sheet for 5-10 minutes. This will allow them to set. After that, transfer them to a wire rack to cool completely.
Store the Cookies: Once the cookies are fully cooled, store them in an airtight container to keep them fresh.
How to Serve Classic Peanut Butter Blossoms
When it comes to serving your classic peanut butter blossoms, the options are endless. These cookies are perfect on their own or paired with a cold glass of milk. You can also serve them on a beautiful platter at parties and family gatherings.
For added flair, you could build a cookie platter with various types of cookies. Include some chocolate chip cookies or oatmeal raisin cookies alongside your peanut butter blossoms. This way, you offer diverse options for your guests to enjoy.
If you’re feeling creative, you can use the peanut butter blossoms as a dessert base for a sundae. Simply crush a cookie, add a scoop of vanilla ice cream, drizzle with chocolate sauce, and top it off with whipped cream. This dessert will impress anyone!
How to Store Classic Peanut Butter Blossoms
To keep your classic peanut butter blossoms fresh, store them in an airtight container at room temperature. They can stay delicious for up to a week. You can also freeze the cookies for longer storage. Place the cookies in a single layer in a freezer-safe container and separate layers with parchment paper. The cookies can last in the freezer for up to three months.
When you are ready to eat them, simply take them out of the freezer and let them thaw at room temperature. They will taste as fresh as the day you made them!
Tips to Make Classic Peanut Butter Blossoms
Use Room Temperature Butter: Make sure your butter is at room temperature. This helps it cream better with sugars, leading to lighter and fluffier cookies.
Do not Overmix: When combining the dry and wet ingredients, mix just until combined. Overmixing can make the cookies dense.
Chill the Dough: Do not skip chilling the dough. It prevents the cookies from spreading too much while baking.
Watch the Baking Time: Every oven is different. Keep a close eye on your cookies, as baking them too long can make them hard.
Customize the Kisses: While classic peanut butter blossoms are topped with Hershey Kisses, feel free to mix things up. Try using different flavors like caramel-filled kisses or even white chocolate ones.
Variation
If you want to switch things up, try adding chocolate chips to the dough for a chocolate-peanut butter flavor combo. You could also add chopped nuts for extra crunch and flavor. Another fun variation is to drizzle melted chocolate on top or sprinkle sea salt for a delicious sweet and salty finishing touch.
FAQs
What can I do if my dough is too sticky?
If you find your dough is sticky after chilling, add a little more flour. Start with a tablespoon at a time until it reaches the desired consistency.
Can I use natural peanut butter in this recipe?
Yes, you can use natural peanut butter. Just make sure to stir it well, as the oils tend to separate. Natural peanut butter may make the cookies a little less sweet, so you can adjust the sugar if desired.
How long should I chill the dough?
A minimum of one hour is recommended, but you can chill it longer if you have the time. Chilling for up to 24 hours can improve the cookie flavor!
Baking classic peanut butter blossoms will always bring comfort and happiness. The love and care you put into making these cookies will delight everyone around you. Now that you have the recipe, it’s time to gather your ingredients and bake a wonderful batch today!

Classic Peanut Butter Blossoms
Ingredients
Method
- In a medium bowl, whisk together the flour, baking soda, and salt. Set aside.
- In a large bowl, cream together the peanut butter, unsalted butter, granulated sugar, and light brown sugar until smooth.
- Add the egg, milk, and vanilla extract to the butter mixture. Mix until smooth.
- Gradually incorporate the dry mixture into the wet ingredients, stirring until fully blended.
- Cover and chill the dough in the fridge for at least 1 hour.
- Preheat your oven to 375°F (190°C) and line baking sheets with parchment paper.
- Roll the chilled dough into 1-inch balls and coat each ball in granulated sugar.
- Place the dough balls on the baking sheets about 1 1/2 to 2 inches apart.
- Bake for 7-8 minutes. When done, press a Hershey kiss into the center of each cookie.
- Return to the oven for an additional 2 minutes.
- Cool on the baking sheet for 5-10 minutes before transferring to a wire rack to cool completely.
- Store cookies in an airtight container at room temperature for up to a week or freeze for up to three months.

