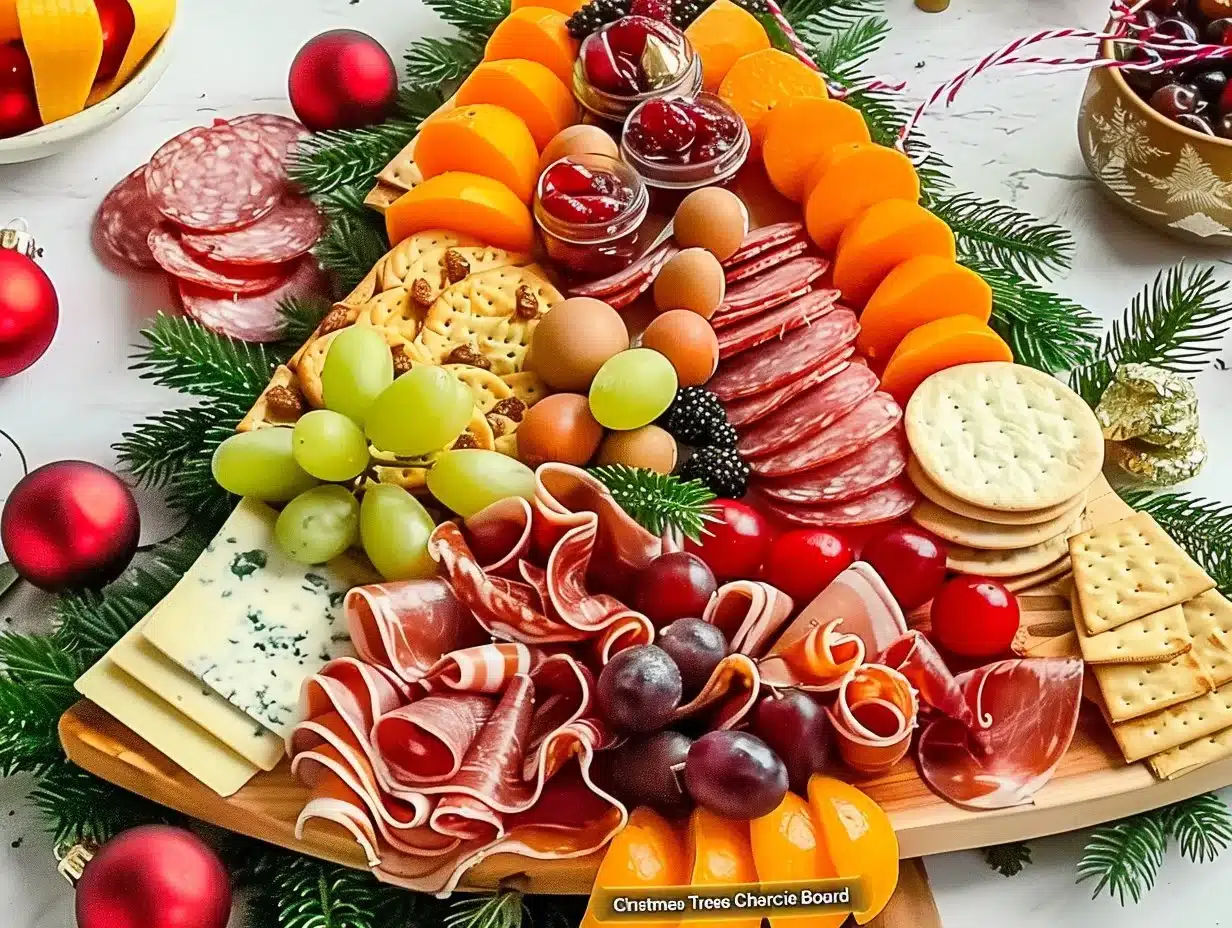
Christmas Tree Shaped Charcuterie Board Recipe
Why Make This Recipe
The holiday season is a time of joy, togetherness, and delicious food. One fun way to celebrate this spirit is by creating a Christmas Tree Shaped Charcuterie Board. This festive treat is not only beautiful but also offers a variety of flavors that everyone will enjoy.
The fun part about a charcuterie board is that it can be customized. You can choose different ingredients based on your preferences. This tree-shaped design adds a fun visual element to your holiday gathering, making it a great centerpiece for your table. Plus, it is straightforward to assemble, allowing you to spend more time with your loved ones and less time in the kitchen.
This recipe is perfect for families, parties, and even as a gift to a friend or neighbor. The mix of colors and textures from fruits, cheeses, and nuts makes it inviting to everyone. Assembling a charcuterie board can be a creative outlet, so let your imagination reign while making this lovely addition to your holiday celebrations.
How to Make Christmas Tree Shaped Charcuterie Board
Creating your own Christmas Tree Shaped Charcuterie Board may sound challenging, but it is actually quite simple! Here’s a step-by-step guide on how to make this beautiful holiday dish that can impress anyone.
Ingredients
To begin, gather your ingredients. Here’s what you’ll need:
- 10 fresh rosemary sprigs
- 1 celery stalk
- Red seedless grapes
- Green seedless grapes
- Black seedless grapes
- 4 ounces sharp cheddar cheese
- 4 ounces Monterey Jack cheese
- 4 ounces mild or medium cheddar cheese
- ½ cup fresh cranberries
- 1-2 star fruits
- 1 cup assorted nuts
- 1 green kiwi fruit
Directions
Follow these easy steps to create your Christmas Tree Shaped Charcuterie Board:
Create the Tree Outline: Take the 10 fresh rosemary sprigs. Begin by placing one sprig at the top to represent the tip of the tree. As you move down, spread the rosemary sprigs wider apart. This way, your tree will get broader as it approaches the bottom. The rosemary adds a lovely scent and creates the perfect outline.
Add the Trunk: Once you have your tree shape, position the celery stalk at the base to serve as the tree trunk. This adds height and a pop of green color and provides a crunchy texture to enjoy.
Layer Ingredients: Start layering your ingredients from the bottom of the tree. Begin with the sharp cheddar cheese, cutting it into small cubes and placing them neatly in a row. Next, add the red seedless grapes, followed by the Monterey Jack cheese. Continue with the green grapes, mild cheddar cheese, and finally, finish off the tree with black grapes at the peak.
Shape the Top of the Tree: Now, it’s time to create the starry top of your tree. Cut your green kiwi into slices and arrange these slices in a triangle shape to emphasize the tree’s peak. The bright color of the kiwi adds a fresh and vibrant look.
Place a Star Fruit at the Top: For the finishing touch at the top of your Christmas tree, place a slice of star fruit. It will resemble a star and looks stunning against the green kiwi. This adds another element of fun!
Scatter Cranberries and Nuts: Around the base of your tree, scatter the fresh cranberries and assorted nuts for added color and texture. They not only provide additional flavors but also enhance the visual appeal of your charcuterie tree.
Cover and Refrigerate: Finally, cover your beautiful charcuterie board with plastic wrap to keep it fresh. Refrigerate until you’re ready to serve. This will help keep the ingredients crisp and flavorful until your gathering.
How to Serve Christmas Tree Shaped Charcuterie Board
When it’s time to serve the Christmas Tree Shaped Charcuterie Board, simply remove the plastic wrap and present it on your holiday table. This fun presentation will surely start conversations and encourage guests to enjoy.
Pair this festive board with a variety of crackers or breadsticks. This way, guests can easily create their own little bites. You can also have extra cheese, nuts, or fruits on the side for those who might want to add more to their plates. Make sure to provide toothpicks or small utensils for easy serving.
If you want to enhance the experience, consider serving a glass of sparkling juice or holiday-themed beverages alongside the charcuterie board. This makes for an exciting combination and offers something for everyone.
How to Store Christmas Tree Shaped Charcuterie Board
If you have leftover ingredients after the holiday fun, storing your Christmas Tree Shaped Charcuterie Board is quite simple. First, cover any unused fruits, cheeses, and nuts with plastic wrap. Make sure they are well-sealed to keep them fresh.
You can also place leftover ingredients in airtight containers to maintain their flavors. Store them in the refrigerator for up to 3 days. Just keep in mind that the rosemary may not hold up as well after a day or two, but all other ingredients should stay fresh and delicious!
When you’re ready to enjoy the leftovers, you can recreate a mini charcuterie board or simply snack on the individual components.
Tips to Make Christmas Tree Shaped Charcuterie Board
Mix Textures and Colors: When choosing fruits and cheeses, opt for a variety of colors and textures. This gives your board a more appealing and vibrant look.
Use Fresh Ingredients: For the best flavors, always select fresh fruits and cheeses. This makes a noticeable difference in taste and visual appeal.
Pre-cut Ingredients: If you are preparing for a party, cut up the cheeses and fruits in advance. You can arrange the ingredients when your guests arrive for a WOW factor.
Add Variety: Feel free to include other ingredients you enjoy, such as olives, pickles, or other types of cheese. Personalizing it makes it special!
Be Creative: No two charcuterie boards have to look the same. Don’t be afraid to experiment with shapes and arrangements based on your own style.
Variation
Although this recipe provides a delightful combination of flavors, you can certainly switch things up! Consider using different types of cheeses, like cream cheese or goat cheese, for a new taste. You can also try adding different fruits like strawberries, mandarin oranges, or pears, which will enhance the color palette and flavor.
If you prefer a more savory approach, adding small slices of cured meats like salami or prosciutto can provide additional texture and taste. The key is to have fun with your ingredients and create something unique!
FAQs
1. Can I make this charcuterie board in advance?
Yes, you can prepare the board a few hours in advance. Just cover it with plastic wrap to keep it fresh until you are ready to serve.
2. What other ingredients can I add to the board?
Feel free to include additional items such as olives, dried fruits, or different kinds of spreads like hummus or dips. It is all about personal preference!
3. How long will the leftovers last?
Leftover cheese, fruits, or nuts can last up to 3 days in the refrigerator if stored properly in airtight containers. Just remember that the freshness of the rosemary may deteriorate after a day or two.
By following this simple guide, you can create a fabulous Christmas Tree Shaped Charcuterie Board that brings holiday cheer to your gatherings. Enjoy the process and have fun with it! Happy holidays!

Christmas Tree Shaped Charcuterie Board
Ingredients
Method
- Create the Tree Outline: Use the fresh rosemary sprigs to form the outline of the Christmas tree.
- Add the Trunk: Position the celery stalk at the base for the tree trunk.
- Layer Ingredients: Start layering with sharp cheddar cheese at the bottom, stacking red grapes, then Monterey Jack cheese, green grapes, mild cheddar cheese, and finishing with black grapes at the top.
- Shape the Top of the Tree: Slice the green kiwi and arrange the slices in a triangle at the top.
- Place a Star Fruit at the Top: Add a star fruit slice atop the tree for decoration.
- Scatter Cranberries and Nuts: Surround the base with cranberries and assorted nuts.
- Cover and Refrigerate: Wrap the board with plastic wrap and refrigerate until ready to serve.

